
Looking for an alternative to the Lumens Ladibug software? You’re in the right place! DocCam Viewer is a custom extension designed for use with Lumens document cameras that works similarly to the official Ladibug software. This guide will go into how to install and use the extension for everyday use in the classroom.
Installing and Opening the Extension
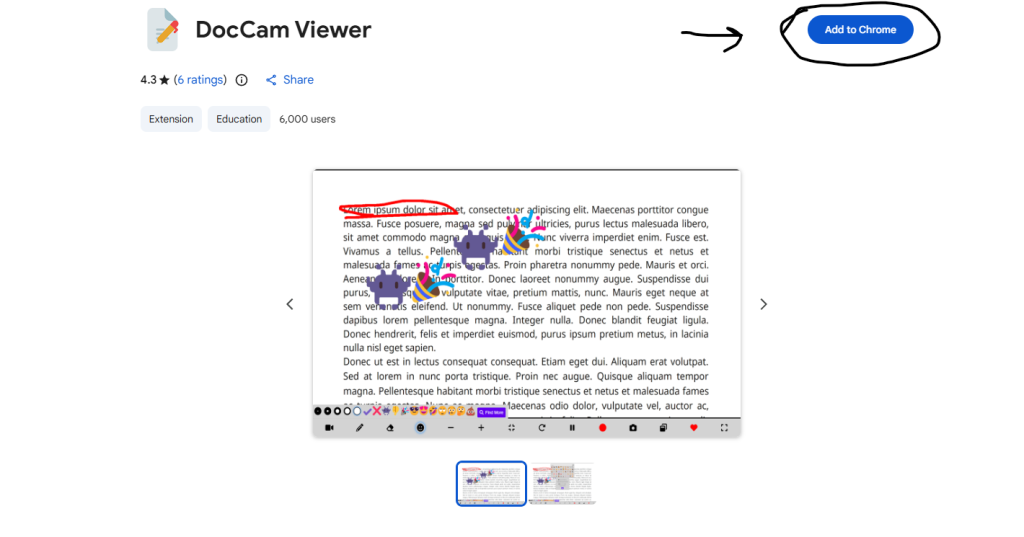
To install the extension, click the following link, open up Google Chrome and click on the following URL: DocCam Viewer and click the blue “Add to Chrome” button, and click “Add extension”
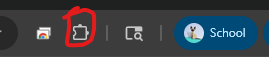
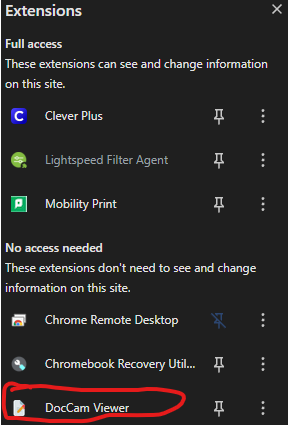
After performing these steps, the extension is now installed onto Chrome and is ready to be used. To access the extension, look for the puzzle piece icon on the top right of the browser. Click on the icon and look for DocCam Viewer in the list. Once found, hover your mouse over the extension and click on it to open the extension. It will open up in a new tab.
This is what you will see when you open the extension, it will appear in a brand new window.
Preparing the extension for classroom use
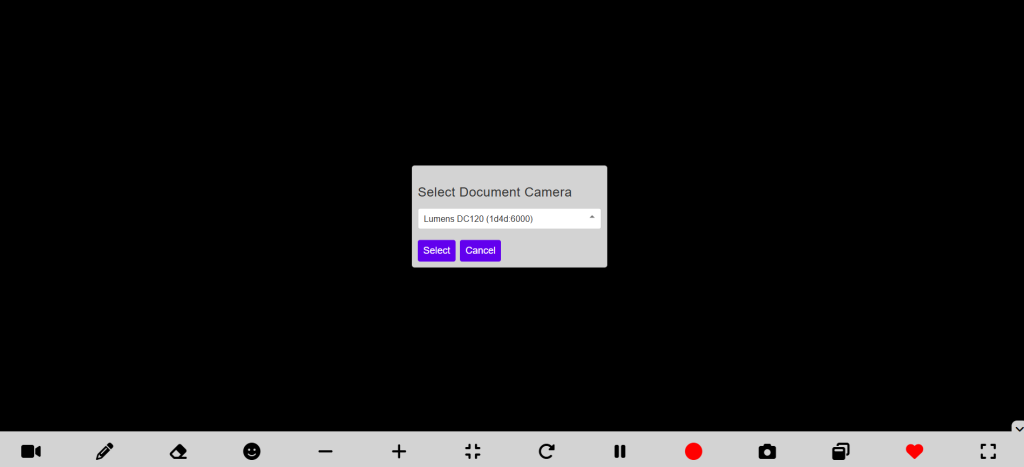
Once the extension is open in a new window, you will see a window open like the above screenshot. Before you’re able to use the extension, you need to select the document camera, if it is not automatically selected. If it does not automatically appear, click inside the drop down box to check if it appears. If not, reconnect the document camera to your computer, close the extension, and then reopen it to try again. Once you see your document camera in the box, click the “Select” button. It will then ask you to choose a resolution. You can click in the dropdown box to select a different resolution, or stick with the default option. It is recommended to use the highest possible resolution available, but what one you choose is up to personal preference.
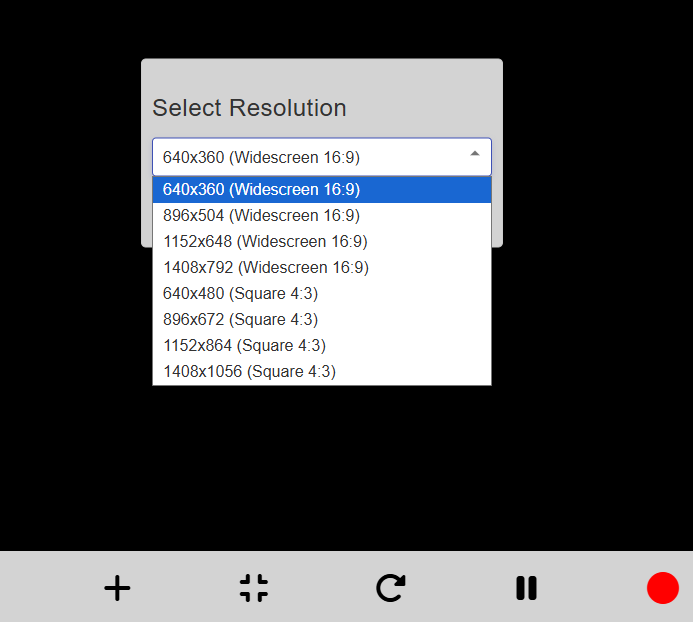
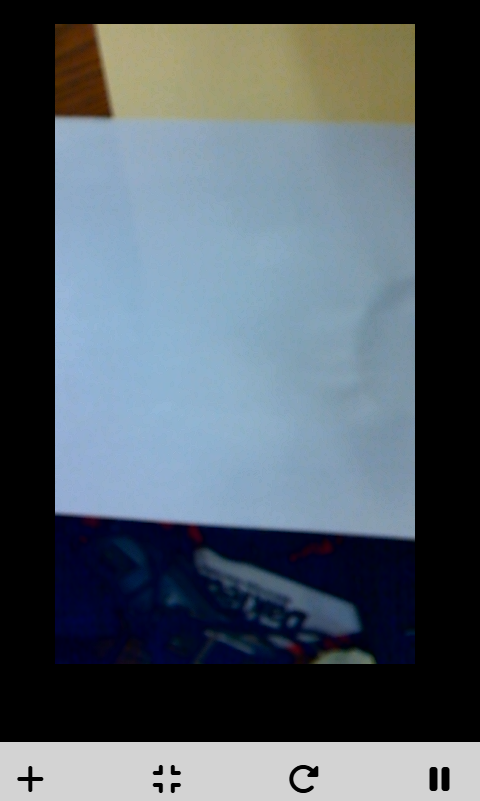
Once you choose a resolution, click the “Select” button to move forward. You should now see your document camera in action. Note: These settings can always be changed by clicking the video camera button on the bottom left side of the screen while in the extension.
How to operate the DocCam Viewer software
After having the extension up and running with your document camera, you will have seen the grey bar at the bottom with various icons. These icons perform various functionalities for the document camera. Here are the functions of each icon in list view, going from left to right.

Video camera icon: Allows the user to reselect desired camera and resolution
Pencil icon: Allows the user to draw on what is being displayed by the camera
Eraser icon: Allows the user to erase any writing or emojis placed on the display
Smiley face icon: Allows the user to place emojis on what is being displayed by the camera
-/+ icons: Zooms the video feed in and out respectively
Minimize icon: Resets the size of the video feed to default
Rotation icon: Rotates the video feed by 90 degrees each click
Pause icon: Pauses the feed
Record icon: Allows the user to record a window on your browser using the document camera.
Camera icon: Takes a picture of the video feed at the time of pressing the button.
File icon: PiP (Picture-in-picture display), allows further editing and customization of the video feed with a PiP camera.
The DocCam Viewer extension is a powerful, lightweight tool designed to keep your lessons flowing seamlessly. Whether you’re sharing a live demo or a handwritten document, you now have the tools to do so right from your browser.
If you run into any issues or have questions about specific camera settings, be sure to check the support server page or contact the tech department via the help desk.